Below is a short breakdown for entering listings into the AIR CRE Research & Listings Platform.
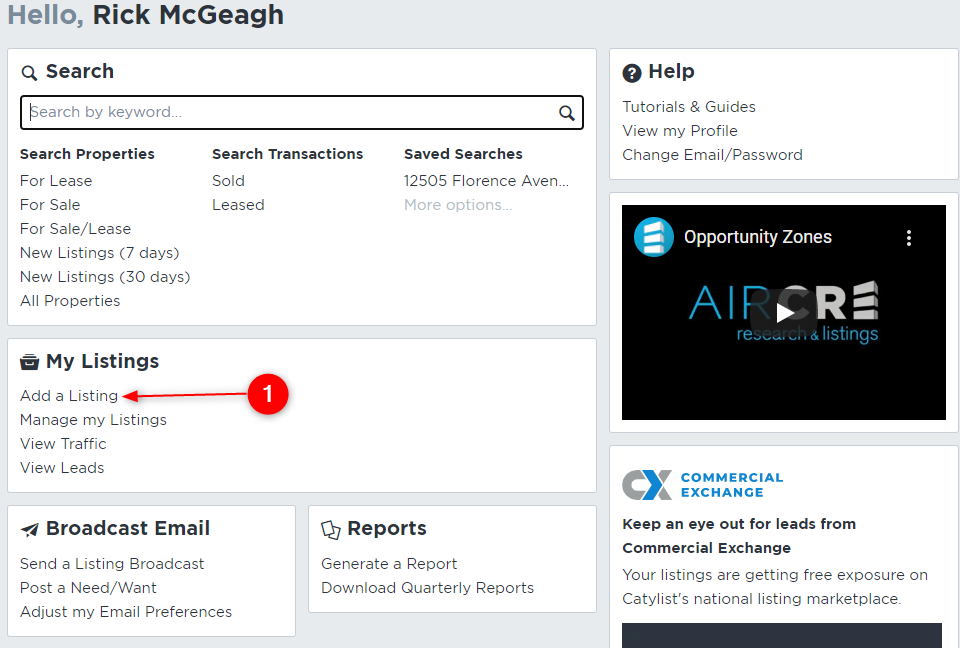
1 – Once logged into the AIR CRE Research & Listings Platform, select the Add a Listing link under the My Listings section on the main landing page.
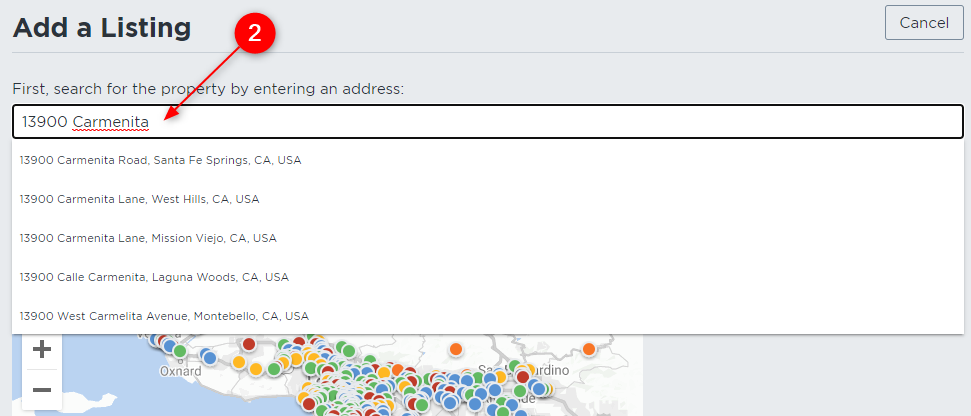
2 – Type in the address of the property you wish to add a new listing on. Select the actual full address from the drop-down menu that will appear directly beneath the area you are typing in.
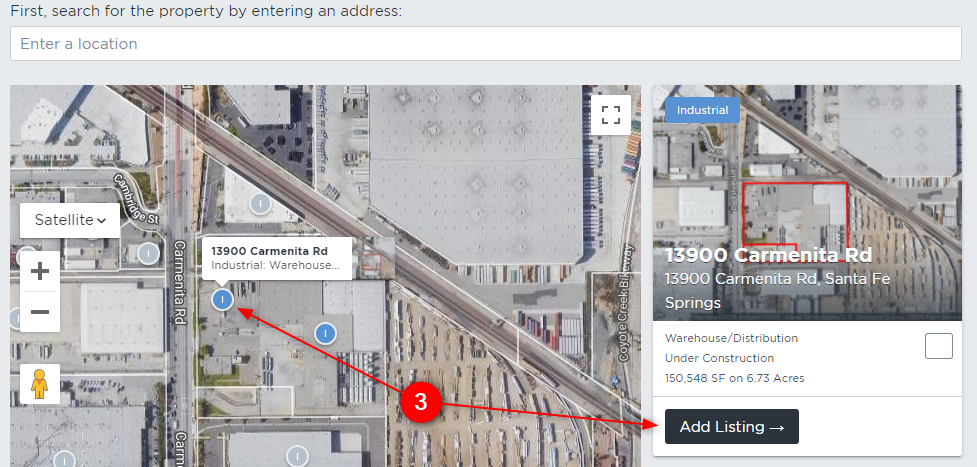
3 – Next, the map will find your property and place a “pin” on top which you then click on to select. A preview of the property will show on the right of the page. Use this to verify the address as well as ensure it shows a similar SF to your property. Once confirmed, select the Add Listing.
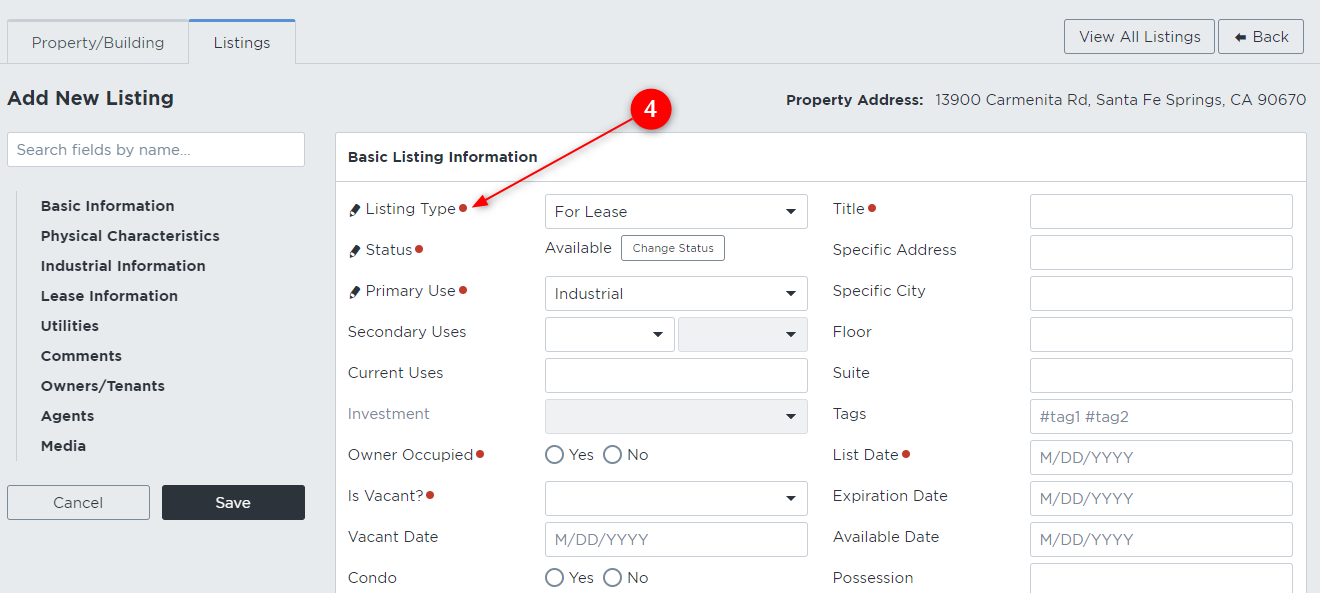
4 – This will open a data entry screen where you can enter your listing information.
- Any field notated with a red circle next to it is a required field.
- Additionally, you can upload all property photos, floor plans/site plans, or PDF brochures
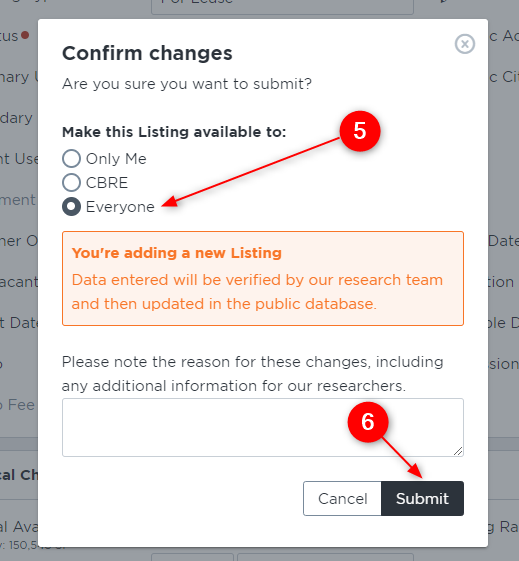
5 – Once all information is entered, select the Save button on the left side of the page. This will open a window for you to confirm your changes as well as set the exposure level of your listing.
- Only Me: the listing will only be visible to your account.
- Company (in this example, CBRE): the listing is visible to only your branch.
- Everyone: the listing is visible to everyone (this option will ensure the most exposure).
6 – The listing will be submitted to the AIR CRE Research team for final approval.
For a full step-by-step breakdown, please use the following links:
As always, we are here to assist you when needed so do not hesitate to reach out to our tech support team at 213-687-8777.